Typewriter Mode: Adding Overscrolling to the Text View
Typewriter modes depend on the feature that you can scroll farther up and down than usual. You need extra whitespace, most of the time in both directions. Let’s start with “overscrolling” to understand what we need.
Apps Without Overscrolling
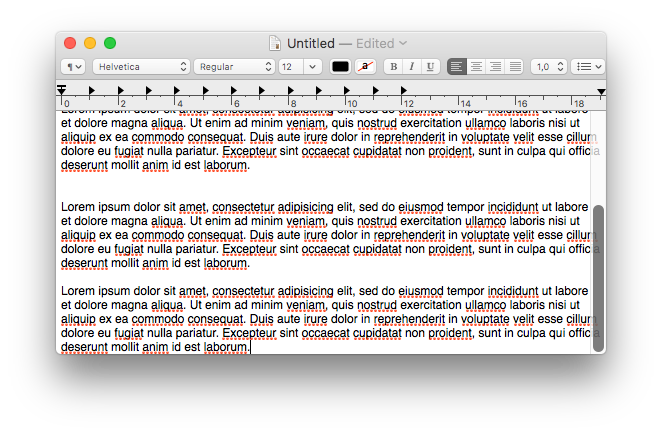
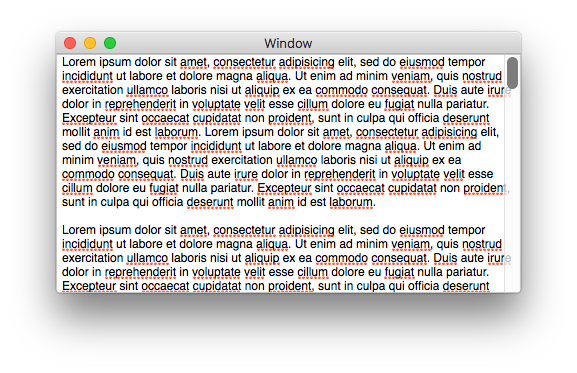
Regular text views show additional bottom whitespace only until you fill it with text. Take TextEdit, for example. You can start to type at the topmost edge of the text view and the rest of the window is blank.
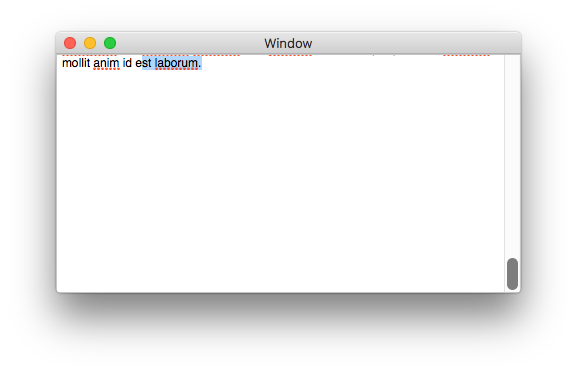
But as soon as you hit the visual bottom of the view, you cannot scroll up to get the whitespace back. The enclosing NSScrollView only allows you to scroll until the last line of text comes into view.
When you compose a text, looking at the very bottom of your screen most of the time can feel stupid. That’s why typewriter scrolling became so popular: you can type but the edited line stays visually centered on the screen.
Apps With Overscrolling
Now most apps with typewriter scrolling also have overscrolling. But some, like Byword, don’t allow you to scroll beyond the confines of the document until you activate the typewriter mode.
TextMate is a bit different. It allows you to scroll down as much as you like, up until the last line is at the very top of the view.
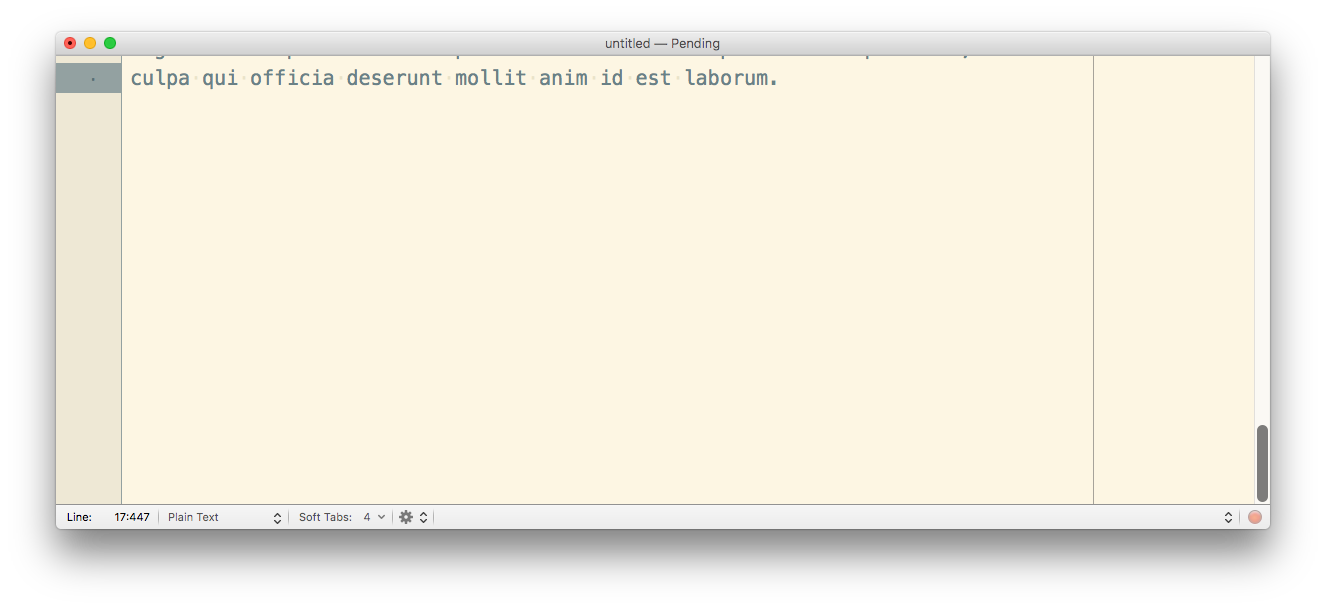
TextMate doesn’t feature a typewriter mode, which basically is overscrolling + locked insertion point location, though, so you have to adjust the scrolled position for yourself.
Update: Xcode nowadays also allows overscrolling. It has 3 settings, small, medium, and large, where medium overscrolls up to 50% of the text area’s height, max.
Implementing Two-Sided Overscrolling in a NSTextView
To tell the NSScrollView that you want to scroll beyond the confines of the text, you need to tell it that its documentView is larger than it actually is. I found increasing the vertical textContainerInset to work pretty well:
class TopAndBottomOverscrollingTextView: NSTextView {
    func scrollViewDidResize(_ scrollView: NSScrollView) {
        let lineHeight: CGFloat = 14 // compute this instead
        let overscrollInset = scrollView.bounds.height - lineHeight
        textContainerInset = NSSize(width: 0, height: overscrollInset)
    }
}
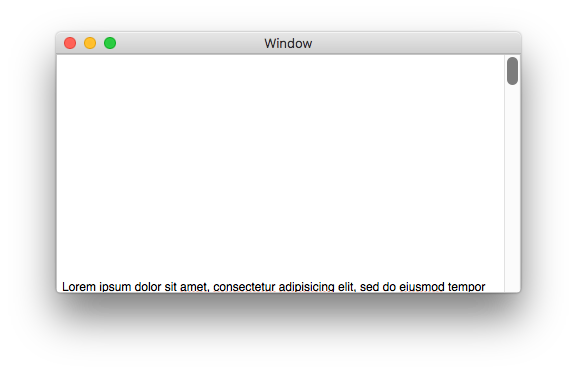
Now you have increased the text view’s total size by twice the container height, so you have extra space at the top:
… and at the bottom:
One-Sided Overscrolling
The previous result is a good base to get started implementing a typewriter mode. Without a typewriter mode, overscrolling beyond the top of the document is pretty weird, though. You cannot have a textContainerInset with asymmetric values, so you can only set a vertical inset that affects both edges. But you can move the container around. So you’ll end up doing:
- Set the inset to 1/2 of what you want,
- move the container up the same value,
- so that you end with exactly what you want at the bottom.
class BottomOverscrollingTextView: NSTextView {
    func scrollViewDidResize(_ scrollView: NSScrollView) {
        let lineHeight: CGFloat = 14 // compute this instead
        let offset = (scrollView.bounds.height - lineHeight) / 2
        textContainerInset = NSSize(width: 0, height: offset)
        overscrollY = offset
    }

    var overscrollY: CGFloat = 0

    override var textContainerOrigin: NSPoint {
        return super
            .textContainerOrigin
            .applying(.init(translationX: 0, y: -overscrollY))
    }
}
Experimentally, I found this computation to work better:
let offset = floor((scrollView.bounds.height - 14) / 2) - 1
It gets rid of half pixels and then adds a tiny extra offset that’ll help keep the last line in sight when you overscroll. If the last line is obscured even 1 pixel, the scroll view will scroll up to pull it into view.
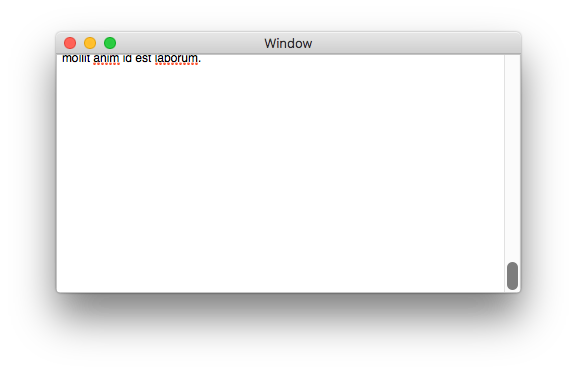
So the bottom overscrolling works as expected:
While the top is clean and looks like usual text views:
Implement scrollViewDidScroll Callback Notification
One thing I skipped so far: the origin of scrollViewDidScroll(_:). You have to sign up for notifications for this kind of event, for example in your view controller:
class ViewController: NSViewController {

    @IBOutlet weak var scrollView: NSScrollView!
    @IBOutlet weak var textView: NSTextView!

    func viewDidLoad() {
        super.viewDidLoad()

        scrollView.contentView.postsBoundsChangedNotifications = true
        NotificationCenter.default
            .addObserver(textView,
                selector: #selector(scrollViewDidScroll(_:)),
                name: .NSViewBoundsDidChange,
                object: scrollView.contentView)
    }
}
That’s all you need to get rolling.
Next Steps
This is already some achievement in terms of making text editing more user-friendly because now people don’t have to stare at the bottom of the screen (or window) all the time. Still, without the typewriter scrolling that maintains the extra whitespace even when typing, there’s room for improvement.